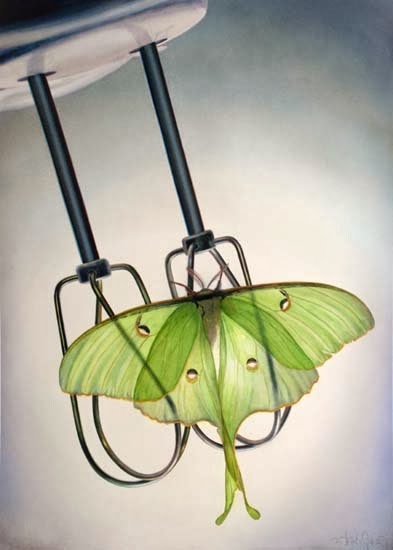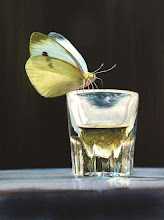
Update: After I posted this same photo on Instagram, I was asked for more details on how to stretch paper, so here is a rundown of the process... I run cold water over both sides of a sheet of Arches 140 lb. hot press paper and then lay it on a slightly dampened 3/4-inch plywood drawing board (faced with maple or birch and sanded very smooth and scrubbed clean before you use it the first time... Note that a masonite student drawing board is not a good substitute for plywood – masonite warps easily when wet!). Rub the paper surface gently from the center outwards with a clean soft sponge to flatten any bubbles. I use a large sea sponge that I’ve been using only for paper stretching for the past 25 years to flatten it. The sponging removes some sizing from the paper surface and softens it, making it more absorbent and receptive to watercolor washes. After the paper been lying flat for about five minutes on the drying board (or less if the air is dry), tape the edges down with 2-inch gummed kraft (brown paper) tape, and let it dry flat somewhere. If it bubbles up after you tape it, that probably means you taped it too soon, but it may settle down again when it dries completely. Once dry, I lightly draw the rectangle that I’m going to paint in, and I mask this border with drafting tape so there will be a few inches of white paper between the painting border and the kraft tape. When it’s all finished, I remove the drafting tape and cut the painting off the board by running the point of a sharp knife through the kraft tape along the edge, and then cut off the taped edges with scissors or paper cutter. The kraft tape remaining on the board can be removed by soaking with water for ten minutes and then scraping it off. It will come off easily if it has been soaked long enough – if not, just soak it longer. Good luck, and please feel free to ask if you run into any problems.


